Showing posts with label spark plugs. Show all posts

Monday, September 7, 2020

Pontiac Vibe/Toyota Matrix (1st generation), Toyota Corolla,Toyota Celica GT spark plug change


Spark plug replacement for Pontiac Vibe, Toyota Matrix, Toyota Corolla, Toyota Celica

Changing the spark plugs on these models is pretty easy and can be done in an hour or so. If your plugs are old and out of spec, you'll have reduced power and mileage. You may even find it difficult to start a cold engine or experience a rough idle.

This is my documented process so I may repeat in the future. Do this at your own risk!


Schedule
Every 120,000 miles

Applicable Vehicles (1ZZ-FE engine)
2003 - 2008 Pontiac Vibe (base)
2003 - 2008 Toyota Matrix (standard and XR)
2003 - 2008 Toyota Corolla (CE,S, LE)
2000-2005 Toyotal Celica (GT only)


Materials
4 spark plugs (Denso 3324 iridium spark plugs. Double check your owner's manual.)

This vehicle comes with Denso iridium spark plugs from the factory. After removing them after 120k miles, I highly suggest using with the original equiment plugs. As of 2020 these cost about $9 each.


Tools
10 mm socket
5/8 spark plug socket
Extension bar for ratchet
Socket wrench
Flat-head screwdriver
Air compressor air gun (optional)
Torque Wrench (optional, not shown)


Tools for the job

Time
This procedure takes about an hour to ninty minutes to complete.


Procedure

  1. Remove engine cover. There are two 10 mm acorn nuts in the center of the cover. The plastic clips at the rear of the cover can be wiggled out with a screwdriver.

Engine Cover
Remove 10 mm acorn nuts (yellow arrow)
Remove plastic clips (green arrow)

2. Inspect under the top of the engine. The center of my engine was full of acorns courtesy of mice. Use compressed air to clean out before proceeding.

Engine with cover removed

3. The next step is to disconnect the wire clips from the ignition coil pack on each spark plug. See pics below to see what we're accomplishing. Push the tab to remove.
Plastic wire clip connecting to ignition coil pack - connected
Plastic wire clip connecting to ignition coil pack - disconnected

3a. Disconnect the wire clip on the furthest left coil pack.
3b. Disconnect the wire clip on the furthest right coil pack.

Further right coil pack disconnected
3c. There is little room to disconnect the middle coil packs. In order to access, we must remove the plastic wiring harness bar behind the plugs. We must remove the 10 mm bolts and it moves out of the way easily.

Remove 10 mm bolt on right side holding wire harness

Note: The nut stuck to the bolt and I unscrewed the entire bolt! This could happen. Nothing is broken. Just screw it back in when done.

Ooops!The entire bolt came out of engine. That's okay. Just screw it back in later.

3d. Remove the left 10 mm nut as shown with the yellow arrow. You already removed the one with the green arrow. Prop the wiring harness out of the way so you can remove the middle two coil pack clips.
Wire harness out of the way and coil pack clips removed.
Note: Pic shows 10 mm bolts for coil pack clips removed. That is the next step.
4. Remove the coil pack 10 mm bolts holding the coil packs in place.
Remove all four 10 mm bolts. Two are highlighted here.

5. Remove the coil packs. Each  should just lift out. Be careful to not drop anything down the spark plug holes!

One ignition coil pack removed

All ignition coil packs removed.
6. Remove and replace each spark plug one at a time. Use your spark plug socket, extension bar, and socket wrench. Make sure you have it set to remove. Lefty loosey!
Removing a plug. MAKE SURE YOU LOOSEN AND NOT TIGHTEN!
7. Pull out the old plug. It should stay in the rubber boot within the spark plug socket.
Spark plug coming out of the engine
8. Place new plug on the spark plug sock. You do not need anti-seize compound if you use Denso or NGK spark plugs. These brands have a coating on their threads. Plus, they are pre-gapped so no adjustment required. Other brands may require smearing anti-seize compound on the threads.

Look at that beautiful new plug!

9. Remove the socket wrench. Screw the spark plug into place using just your hands and the extension bar. You are doing this so you do not cross-thread it.
Screw the spark plug into place by hand. Notice that there is no socket wrench!

10. Using the socket wrench, tighten so the spark plug washer seats. This is an aluminum engine head, so do not over-tighten. I use my pinky to get it as tight as I can. Then I go an additional quarter turn. If this is your first time, you may opt for a torque wrench. You'll need to research the proper torque spec. I could not find a reliable value on the Internet. Note: Using anti-seize compound could make your spark plug easier to over-tighten with a torque wrench.
11. Push the ignition coil pack onto the plug in the hole. Reinstall the 10 mm bolt to hold the coil pack in place.
12. Repeat steps 6 - 11 for each spark plug.
13. Snap the wiring harness back in place and reinstall hold-down nuts.
Wire harness in place and ready to be bolted down

14. Reinstall the four coil pack wires which we removed in step 3.
Everything is ready to go!

15. Fire up the engine to make sure it works.
16. If engine sounds good, reinstall the engine cover.

Sunday, June 8, 2014

1994-2003 Honda Magna VF750C spark plug change

Changing spark plugs is usually a simple task.  If you have to maintain a Honda Magna, you are in for some knuckle busting!  The Magna's V4 engine was derived from the sporty VFR750F of the era.  They really crammed this engine into a cruiser frame which made spark plug changes a bit difficult.

The Honda Magna has two issues with access on the front cylinders.  First, the plugs are deep within the cylinder head.  Second, there is little clearance for tools due to the location of the radiator.

Right, rear cylinder.  Look at how deep these spark plugs are!
Here is my documentation of how I change the plugs in the front cylinders.  It took me approximately an hour to complete.

Note:  I distinguish left and right as if you are sitting on the motorcycle.

Materials
4 NGK CR8EH-9 spark plugs
Anti-seize lubricant

Note: I found the spark plugs at Autozone for less than half the price of the local Honda shop.  They had to order them, but had them the next morning with no shipping charge!

NGK CR8EH-9 spark plugs


Tools
10 mm wrench
10 mm socket
Socket wrench
Hex allen wrench from Honda tool kit
Spark plug socket from Honda tool kit

Procedure
1. Remove right side cover.
2. Get tool kit.  You'll need the hex allen wrench and the spark plug socket.
Spark plug socket from Honda

Radiator pivot
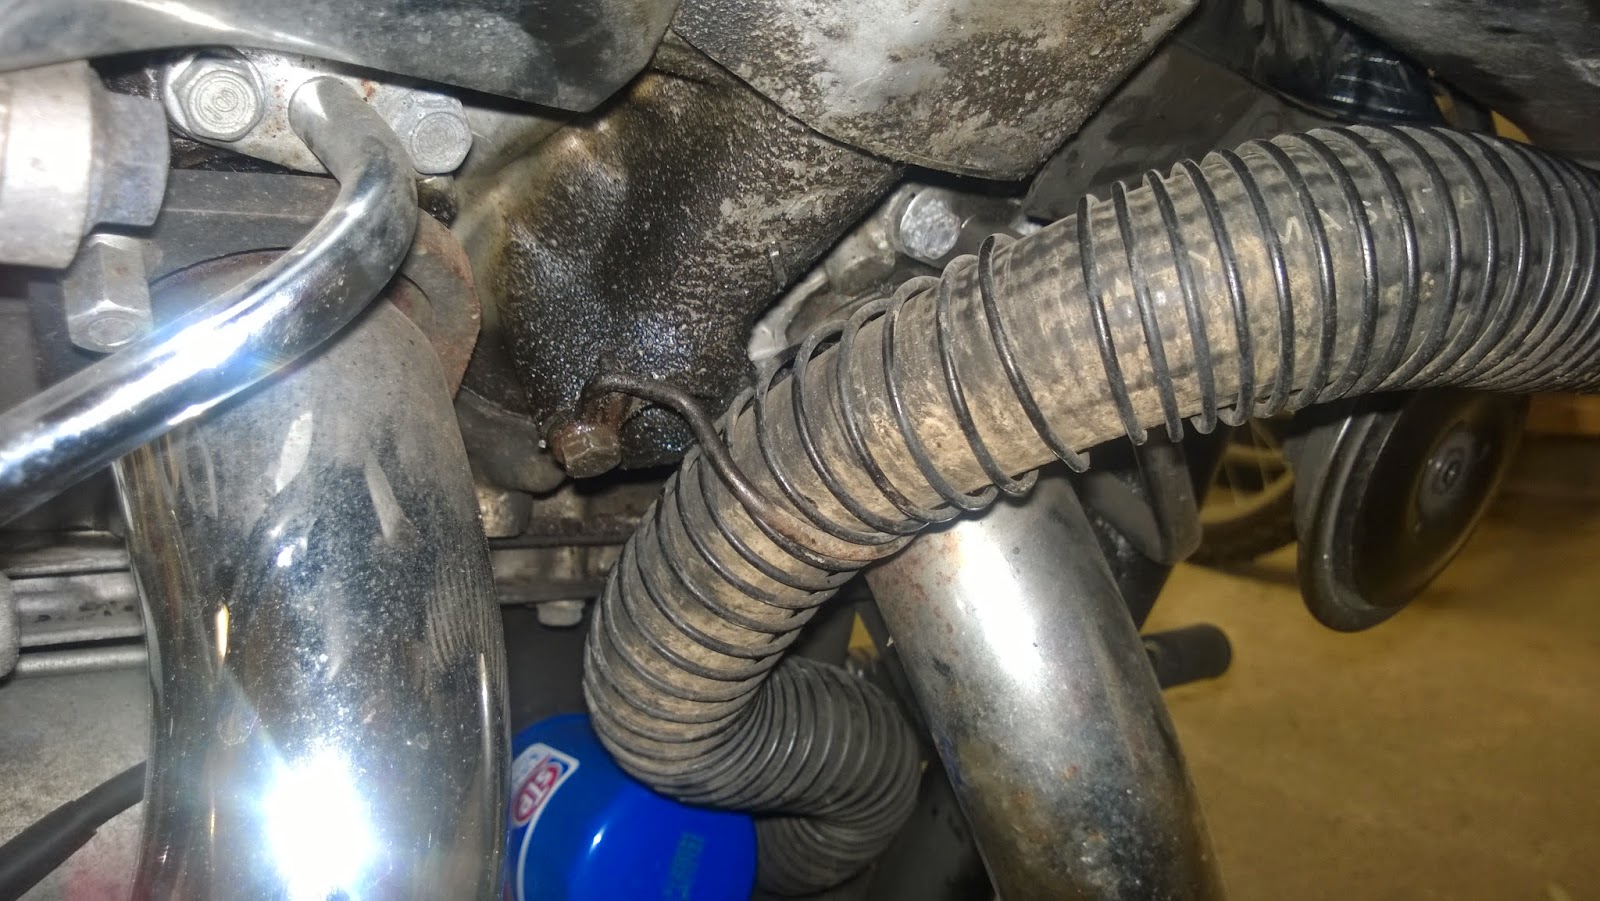
3. Remove the lower radiator hose bracket.  It is secured by a 10 mm bolt.  I used an extension bar to quickly remove.


Location of lower radiator hose bracket
Bracket removed
4. Remove the lower radiator mounting bolts using the hex allen wrench on both sides.  This will allow the bottom of the radiator to pivot forward to improve access to the spark plugs.
Lower radiator mounting bolt with hex allen wrench, right side


Right side, front cylinder
5. Pull out the spark plug wire.  It should simply pop off.  Position it out of the way the best you can.
Plug wire removed
6. Insert the spark plug socket.  Work it onto the spark plug head by gently twisting the tool.
Spark plug socket practically vanishes within cylinder head!
7. I was able to use a 10 mm socket and socket wrench to initially work it lose by turning counter-clockwise.  Due to clearance problems, I had to switch to a 10 mm wrench to get it lose enough that I could use my fingers.  HERE IS THE TRICK: You get the most clearance for tools and your hand by positioning them such that the tools are accessed from the front side of the engine, below the radiator.  Don't damage the radiator or fan.
I was able to squeeze my socket wrench in here just to pop the spark plug loose.  Don't work at the angle shown in the picture.  Pivot the radiator bottom forward to allow proper alignment.
8.  Pull out the spark plug socket.  The spark plug should come out with the tool.  If not, push down on the socket until the spark plug seats into the tool.
9.  Gap the new spark plug.  I used NGK spark plugs which are pretty well set at the factory.
10. Spread anti-seize lubricant on the threads of the spark plug.  Do not get any on the electrode or firing point.  I do this by putting a dab of anti-seize on a clean paper towel and gently rotating the plug over the lubricant.
11. Push the new plug onto the spark plug socket until it seats and its flush.
Push spark plug into the spark plug socket
12. Slide the plug and tool into the cylinder.  Try to aim directly into the hole so you do not pick up crud with the anti-seize lubricant.
13. Screw the spark plug in as tight as you can with your hands.  This is to prevent stripping the soft aluminum and cross threading.
 14. Using the 10 mm wrench, tighten the plug clockwise the equivalent of one half turns.  If you make it too tight, you could strip the threads.  Too lose will cause engine damage.
15.  Put the spark plug wire back on the plug.  You should hear a solid click when it set.

Left side, front cylinder
16. Repeat steps 5 through 15.  This side is a bit more difficult due to the wires for the coolant fan and the temperature sensor.  I was not able to use a socket wrench on this side and had to use the 10 mm wrench.  Remember that its easiest to access the plugs from the front of the engine and below the radiator.
Left side is a bit more difficult.  Had to use a 10 mm wrench here.
Remounting radiator
17. Push the radiator back to its initial position, aligning the mounting holes on the frame with the radiator.
18. Put the bolts in the radiator mount.  First make them finger tight on both sides and then tighten a bit using the hex allen wrench. Don't make it too tight.  The mount is insulated with rubber which you do not want to crush.
19. Reinstall the lower radiator hose bracket.  Make sure the plastic coil around the hose is spread evenly on the radiator hose before you fully tighten the 10 mm bolt.  See the picture on step 3.

Back cylinders
20. The back cylinders are much easier.  Follow the basic procedure.  No clearance issues here.

Completing the job
20. Put away the Honda tool kit.  Getting all the tools back in the storage bag can be a challenge in itself!
21. Put the right side cover back on the motorcycle.