The Honda Magna has two issues with access on the front cylinders. First, the plugs are deep within the cylinder head. Second, there is little clearance for tools due to the location of the radiator.
 |
| Right, rear cylinder. Look at how deep these spark plugs are! |
Note: I distinguish left and right as if you are sitting on the motorcycle.
Materials
4 NGK CR8EH-9 spark plugs
Anti-seize lubricant
Note: I found the spark plugs at Autozone for less than half the price of the local Honda shop. They had to order them, but had them the next morning with no shipping charge!
 |
| NGK CR8EH-9 spark plugs |
Tools
10 mm wrench
10 mm socket
Socket wrench
Hex allen wrench from Honda tool kit
Spark plug socket from Honda tool kit
Procedure
1. Remove right side cover.
2. Get tool kit. You'll need the hex allen wrench and the spark plug socket.
 |
| Spark plug socket from Honda |
Radiator pivot
3. Remove the lower radiator hose bracket. It is secured by a 10 mm bolt. I used an extension bar to quickly remove.
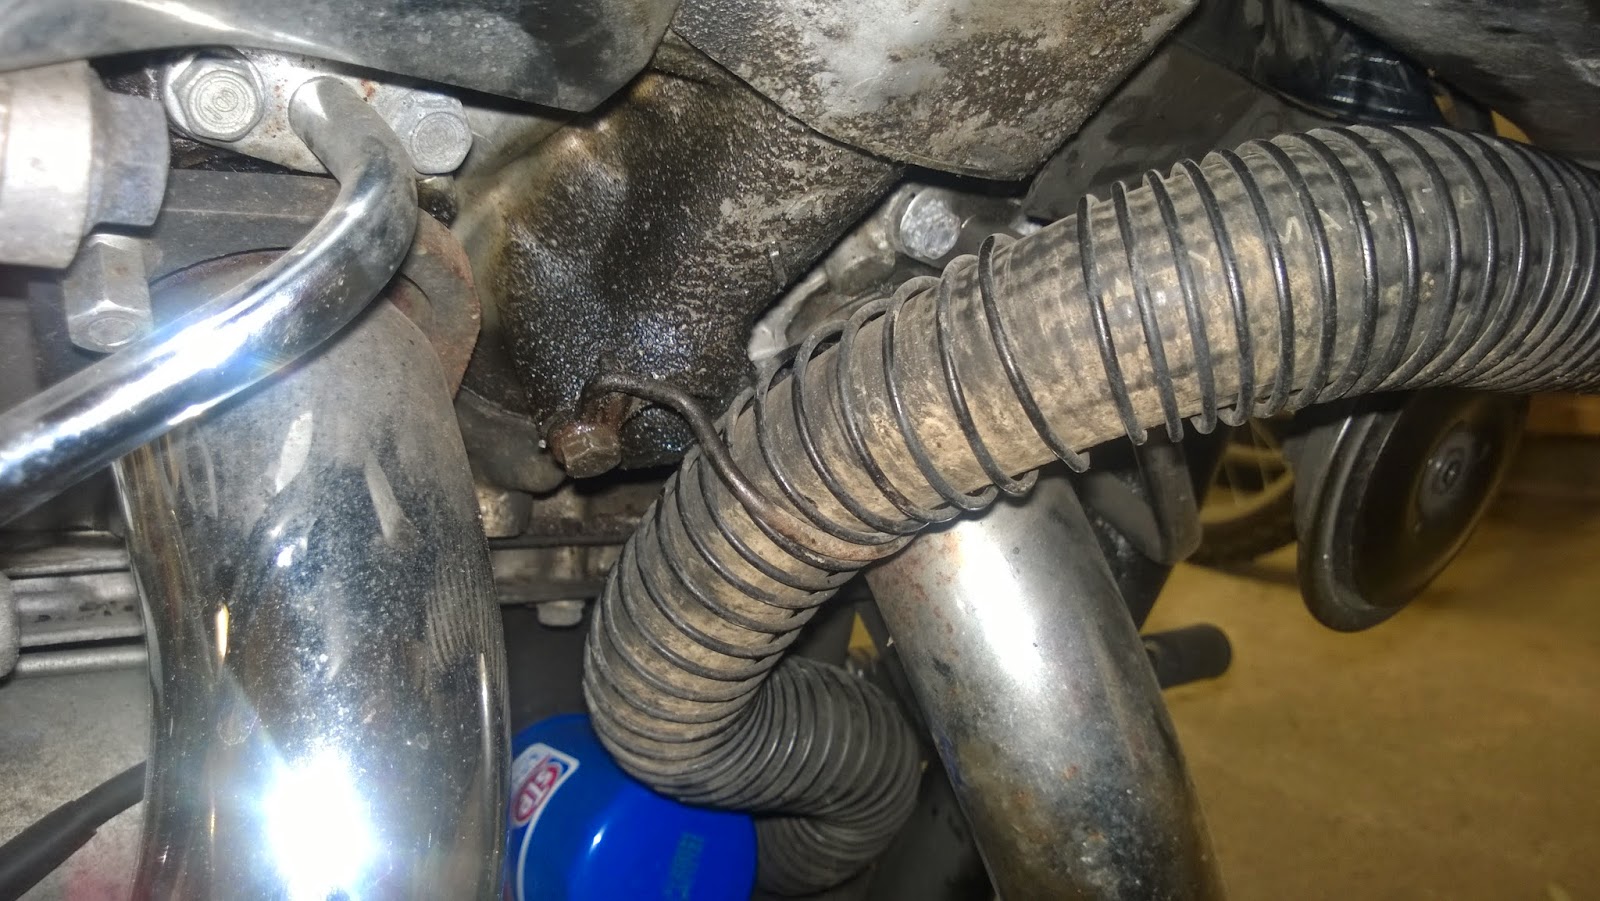 |
| Location of lower radiator hose bracket |
 |
| Bracket removed |
 |
| Lower radiator mounting bolt with hex allen wrench, right side |
Right side, front cylinder
5. Pull out the spark plug wire. It should simply pop off. Position it out of the way the best you can.
 |
| Plug wire removed |
 |
| Spark plug socket practically vanishes within cylinder head! |
 |
| I was able to squeeze my socket wrench in here just to pop the spark plug loose. Don't work at the angle shown in the picture. Pivot the radiator bottom forward to allow proper alignment. |
9. Gap the new spark plug. I used NGK spark plugs which are pretty well set at the factory.
10. Spread anti-seize lubricant on the threads of the spark plug. Do not get any on the electrode or firing point. I do this by putting a dab of anti-seize on a clean paper towel and gently rotating the plug over the lubricant.
11. Push the new plug onto the spark plug socket until it seats and its flush.
 |
| Push spark plug into the spark plug socket |
13. Screw the spark plug in as tight as you can with your hands. This is to prevent stripping the soft aluminum and cross threading.
14. Using the 10 mm wrench, tighten the plug clockwise the equivalent of one half turns. If you make it too tight, you could strip the threads. Too lose will cause engine damage.
15. Put the spark plug wire back on the plug. You should hear a solid click when it set.
Left side, front cylinder
16. Repeat steps 5 through 15. This side is a bit more difficult due to the wires for the coolant fan and the temperature sensor. I was not able to use a socket wrench on this side and had to use the 10 mm wrench. Remember that its easiest to access the plugs from the front of the engine and below the radiator.
 |
| Left side is a bit more difficult. Had to use a 10 mm wrench here. |
17. Push the radiator back to its initial position, aligning the mounting holes on the frame with the radiator.
18. Put the bolts in the radiator mount. First make them finger tight on both sides and then tighten a bit using the hex allen wrench. Don't make it too tight. The mount is insulated with rubber which you do not want to crush.
19. Reinstall the lower radiator hose bracket. Make sure the plastic coil around the hose is spread evenly on the radiator hose before you fully tighten the 10 mm bolt. See the picture on step 3.
Back cylinders
20. The back cylinders are much easier. Follow the basic procedure. No clearance issues here.
Completing the job
20. Put away the Honda tool kit. Getting all the tools back in the storage bag can be a challenge in itself!
21. Put the right side cover back on the motorcycle.
Thanks so much for the step-by-step instructions with pictures. This will save me a lot of grief doing the front plugs on my 94 Magna tomorrow. I already did the back two and hope I did not over-tighten them (before I read your post). We'll see. Trying to get it running again after several years in storage. Had to remove rust inside the tank. Hoping I don't have to remove the carb assembly. Take care and thanks again !!
ReplyDelete