Tuesday, June 10, 2014

1994-2003 Honda Magna VF750C Coolant Change

Changing the coolant on the third generation Honda Magna is fairly easy.  Here is my documented process.

This radiator needs a little lovin'!
Schedule
Every 2 years or 24,000 miles

Materials
2.5 quarts (2.4 L) Pro Honda HP coolant

Tools
12 mm wrench
14 mm wrench
10 mm socket
extension bar
socket wrench
hex allen wrench
catch pan capable of at least 2.5 quarts
medium Philips screw driver

Time
This procedure takes about an hour to complete.

Procedure
1. Remove the clutch cable on the lower, left side of the bike by loosening the left nut, sliding the cable holder to the right, and pulling the cable from the clutch mechanism.
1a. Using a 12 mm wrench, hold the right nut on the bracket in place.
1b. Loosen the left nut using a 14 mm wrench. If you do not more the 12 mm nut, you will not need to adjust the clutch later.
1c. Pull cable out of clutch mechanism.
Clutch bracket on left.  Cluster mechanism on right.

2. Pull off the chrome housing by removing the 3 hex allen bolts.  They are 3 different sizes so keep track of where each belongs.
Chrome housing held by three hex allen bolts

3. Position catch pan under bike.
4. Remove the water pump drain bolt with a 10 mm socket.  A surprisingly little amount of coolant will come out!
Water pump drain plug location circled
5. Remove radiator cap by loosening the screw with a screw driver and then twisting off the cap.  Be prepared for a flood of coolant out the water pump!
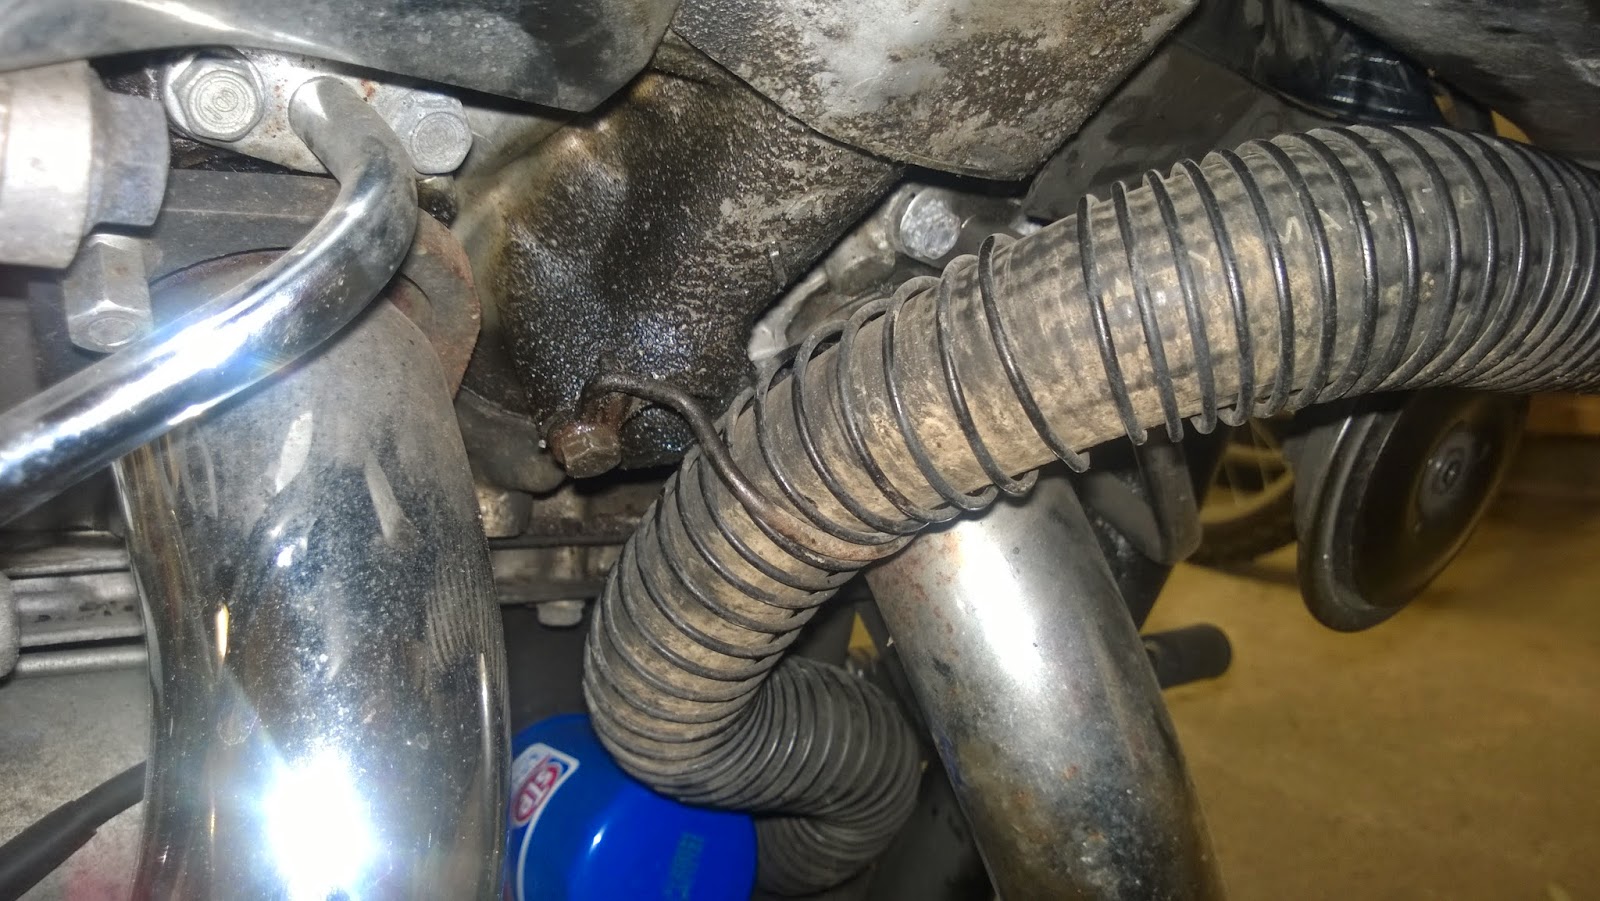
6. After draining is complete, move the catch pan and remove the two cylinder drain screws.  I was able to use a 10 mm socket with extension bar on the right side when facing the engine.  On the other side, I had to use a small 1/4 inch wrench with a small 10 mm socket.  You will get perhaps a pint of coolant out of each cylinder bank.
Left cylinder coolant drain bolt (from front)
Right cylinder coolant drain bolt (from front)
7. Replace the cylinder drain plugs.  Just snug them up.  Do not over tighten.
8. Replace the drain plug on the water pump.
9. Put the chrome cover back in place.
This is the clutch shaft....
....that needs to go in here.
10. Push the clutch cable back into the clutch mechanism.
11. On the cable bracket, tighten the 14 mm nut while holding the 12 mm nut steady.  Remember that keeping the nut in place will prevent the need of cable adjustment.
12. Fill radiator with coolant.
13. With cap off, start the engine.  Let it run for about 20 seconds.
14. Add more coolant until it is full.
15. Run the engine.
16. Let it run for a minute.  If coolant level drops, add more.  Our goal is to remove any air from the cooling system.
17. Blip the throttle a few times.  The coolant level will decrease a bit and more air will be expelled.
18. Let engine run until it is full warm or the coolant starts to overflow. Tighten any bolts if coolant is leaking.
19. Remove right side cover.
20. Add coolant to the overflow reservoir.  You want it to be over the minimum shown on the plastic bottle.
Coolant reservoir is just below tool storage area
21. Reinstall right side cover.
22. Ride it!

Happy Riding!

Sunday, June 8, 2014

1994-2003 Honda Magna VF750C spark plug change

Changing spark plugs is usually a simple task.  If you have to maintain a Honda Magna, you are in for some knuckle busting!  The Magna's V4 engine was derived from the sporty VFR750F of the era.  They really crammed this engine into a cruiser frame which made spark plug changes a bit difficult.

The Honda Magna has two issues with access on the front cylinders.  First, the plugs are deep within the cylinder head.  Second, there is little clearance for tools due to the location of the radiator.

Right, rear cylinder.  Look at how deep these spark plugs are!
Here is my documentation of how I change the plugs in the front cylinders.  It took me approximately an hour to complete.

Note:  I distinguish left and right as if you are sitting on the motorcycle.

Materials
4 NGK CR8EH-9 spark plugs
Anti-seize lubricant

Note: I found the spark plugs at Autozone for less than half the price of the local Honda shop.  They had to order them, but had them the next morning with no shipping charge!

NGK CR8EH-9 spark plugs


Tools
10 mm wrench
10 mm socket
Socket wrench
Hex allen wrench from Honda tool kit
Spark plug socket from Honda tool kit

Procedure
1. Remove right side cover.
2. Get tool kit.  You'll need the hex allen wrench and the spark plug socket.
Spark plug socket from Honda

Radiator pivot
3. Remove the lower radiator hose bracket.  It is secured by a 10 mm bolt.  I used an extension bar to quickly remove.


Location of lower radiator hose bracket
Bracket removed
4. Remove the lower radiator mounting bolts using the hex allen wrench on both sides.  This will allow the bottom of the radiator to pivot forward to improve access to the spark plugs.
Lower radiator mounting bolt with hex allen wrench, right side


Right side, front cylinder
5. Pull out the spark plug wire.  It should simply pop off.  Position it out of the way the best you can.
Plug wire removed
6. Insert the spark plug socket.  Work it onto the spark plug head by gently twisting the tool.
Spark plug socket practically vanishes within cylinder head!
7. I was able to use a 10 mm socket and socket wrench to initially work it lose by turning counter-clockwise.  Due to clearance problems, I had to switch to a 10 mm wrench to get it lose enough that I could use my fingers.  HERE IS THE TRICK: You get the most clearance for tools and your hand by positioning them such that the tools are accessed from the front side of the engine, below the radiator.  Don't damage the radiator or fan.
I was able to squeeze my socket wrench in here just to pop the spark plug loose.  Don't work at the angle shown in the picture.  Pivot the radiator bottom forward to allow proper alignment.
8.  Pull out the spark plug socket.  The spark plug should come out with the tool.  If not, push down on the socket until the spark plug seats into the tool.
9.  Gap the new spark plug.  I used NGK spark plugs which are pretty well set at the factory.
10. Spread anti-seize lubricant on the threads of the spark plug.  Do not get any on the electrode or firing point.  I do this by putting a dab of anti-seize on a clean paper towel and gently rotating the plug over the lubricant.
11. Push the new plug onto the spark plug socket until it seats and its flush.
Push spark plug into the spark plug socket
12. Slide the plug and tool into the cylinder.  Try to aim directly into the hole so you do not pick up crud with the anti-seize lubricant.
13. Screw the spark plug in as tight as you can with your hands.  This is to prevent stripping the soft aluminum and cross threading.
 14. Using the 10 mm wrench, tighten the plug clockwise the equivalent of one half turns.  If you make it too tight, you could strip the threads.  Too lose will cause engine damage.
15.  Put the spark plug wire back on the plug.  You should hear a solid click when it set.

Left side, front cylinder
16. Repeat steps 5 through 15.  This side is a bit more difficult due to the wires for the coolant fan and the temperature sensor.  I was not able to use a socket wrench on this side and had to use the 10 mm wrench.  Remember that its easiest to access the plugs from the front of the engine and below the radiator.
Left side is a bit more difficult.  Had to use a 10 mm wrench here.
Remounting radiator
17. Push the radiator back to its initial position, aligning the mounting holes on the frame with the radiator.
18. Put the bolts in the radiator mount.  First make them finger tight on both sides and then tighten a bit using the hex allen wrench. Don't make it too tight.  The mount is insulated with rubber which you do not want to crush.
19. Reinstall the lower radiator hose bracket.  Make sure the plastic coil around the hose is spread evenly on the radiator hose before you fully tighten the 10 mm bolt.  See the picture on step 3.

Back cylinders
20. The back cylinders are much easier.  Follow the basic procedure.  No clearance issues here.

Completing the job
20. Put away the Honda tool kit.  Getting all the tools back in the storage bag can be a challenge in itself!
21. Put the right side cover back on the motorcycle.